Week 3: Basic Programming - Let's get the plane flying
- Oct 28, 2015
- 2 min read
Hey everybody, today I am going to show you the process of creation our paper plane for the Objective Uranus. Open Unity -> 2D Project. We will add a paperplane sprite and green sprite for background. Put them all in the scene
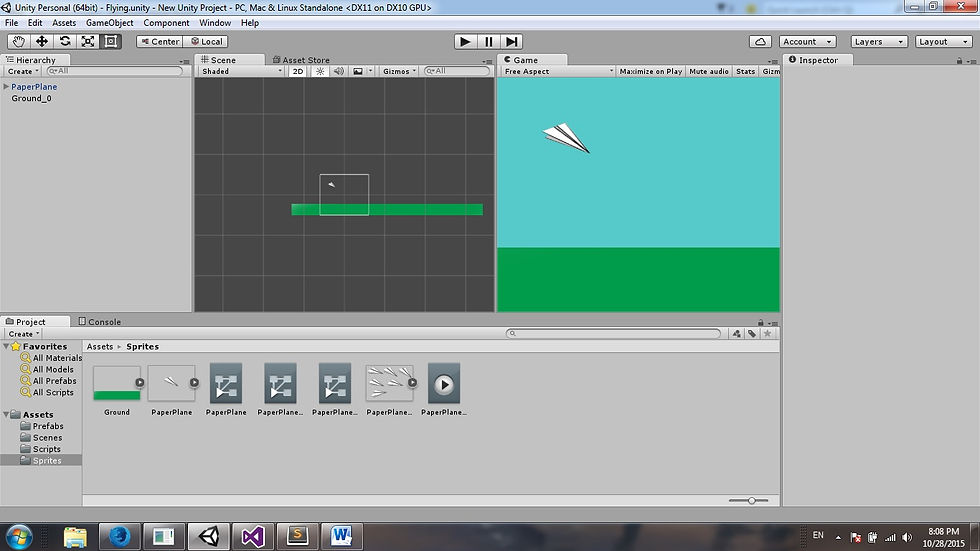
Then we click add component -> Physics2D -> Polygon Collider 2D

We do the same with the green background, but give box collider to it. Then create folder Scripts and add C# Script called Player. Add two public float variables called moveSpeed and resistanceVelocity. First one is for the speed of our main character and the resistanceVelocity we will use to push the plane down as he flies further .

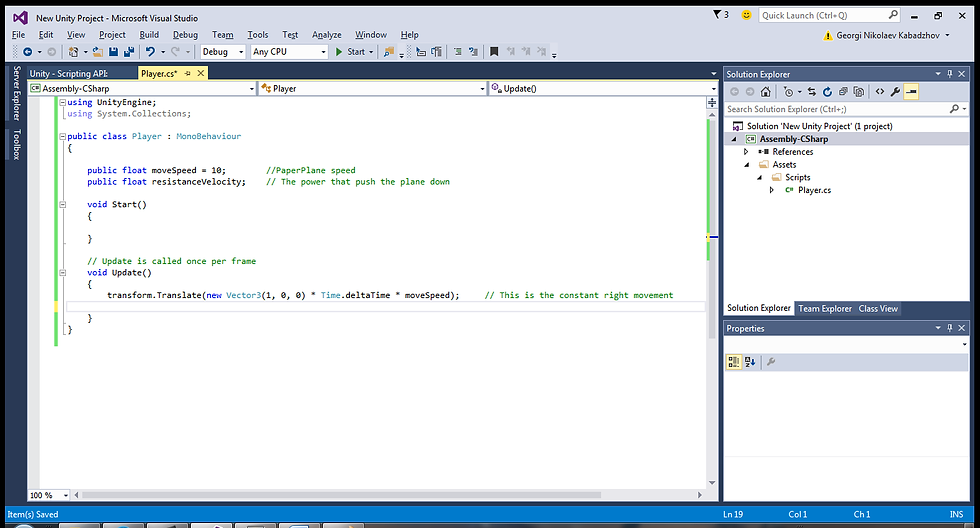
So far we need only to write the update function. First we add the x axis movement. Since this is a paper plane it will always fly on the right direction. This is x, +1 direction.
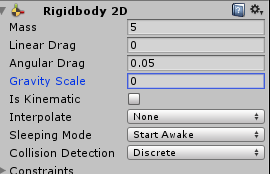
So far, so good. Next thing we need to do is to add force that we will apply to the plane, so it falls down. For that we will need to add Rigidbody2D. Go back to the Unity scene, select the Plane, add component -> add Rigidbody2D. Remove the gravity and go back to Visual Studio.
Use the AddForce function to apply the power on the RigidBody over the Y axis.

Next thing is to check if the plane should move up or down. Tricky part is not to forget to add the right movement to the plane while the plane is moving on the Y axis. We are doing this with an If statement. This is how the up movement looks like.

We do the same thing for the “Down” direction. The only difference is we use KeyCode.DownArrow and on the first transform che change the parameters to (0,-1,0). At the end just don't forget to add the script to the plane object.
And there it is. We have the Character for our Player.


Comments